NEST FI BSC — a virtual machine-like framework, based on a core function library. Developers can add various interesting applications, similar to programming the Ethereum Virtual Machine (EVM).

The advent of the NEST FI BSC protocol
NEST has inherited the Ethereum genes. The essence of EVM is that each program is a combination of some basic codes that can be called as long as a certain gas fee is paid. The income from each product on the PVM can be viewed as a linear combination of some basic income functions, and this income can be earned as long as certain costs are paid.
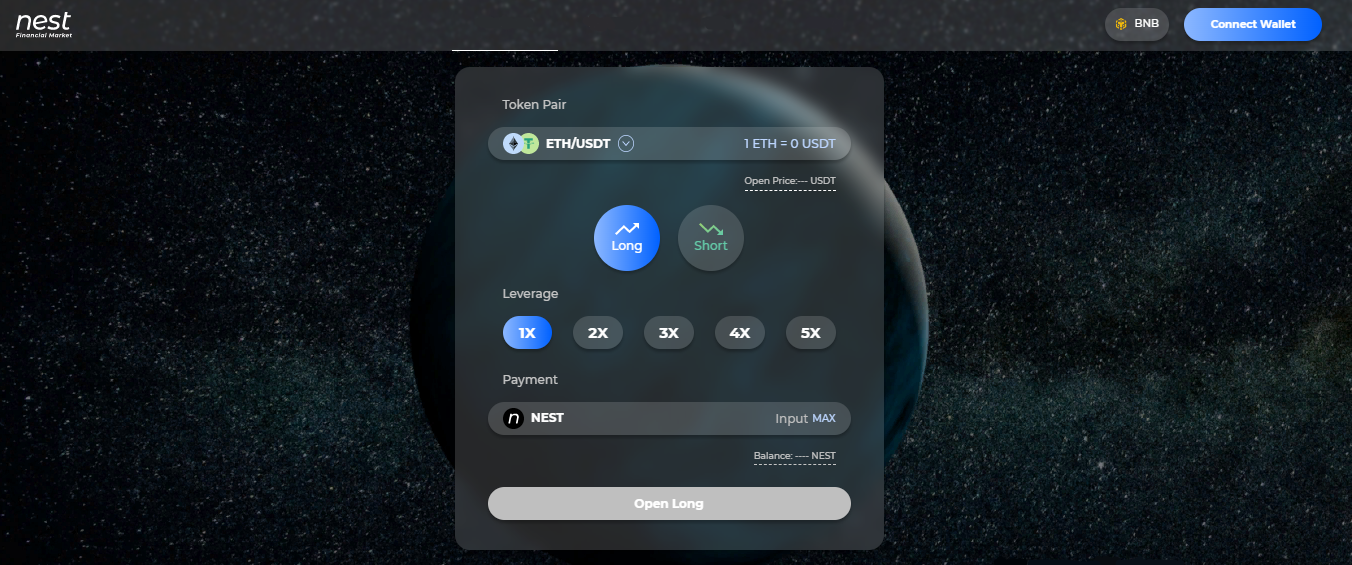
To start using, open the NEST Fi official website, select the network you want to trade on (eg BSC). Click the “Connect wallet” button to connect to your wallet. If your NEST balance is below 1, you should use the exchange feature or buy NEST on the exchange to add enough NEST to trade. If you have not added the NEST token to your wallet, it will say "Add NEST to your wallet", click it and the NEST token will be added to your wallet.
You can switch to the "Exchange" tab to exchange between USDT and NEST tokens. The exchange rate is based on the AMM mechanism, so it will be slightly different from centralized exchanges.
Buying options
NEST Fi options are based on the NEST Probability Virtual Machine (PVM), which provides options with infinite liquidity. NEST Fi supports ETH/USDT and BTC/USDT options.
How to buy options on NEST Fi:
| 1. | Select the "Call" or "Put" option you want to buy. |
| 2. | Select the exercise time and strike price of the option. You should be aware that NEST Fi offers a European option. |
| 3. | The exercise time means that you cannot exercise your option before this date. The final payout depends on the execution price. |
| 4. | Then enter the NEST amount as the payment and the option shares will appear on the right. |
After you successfully buy an option, your position details will be displayed at the bottom of the page. You can sell your option before the expiration time.


